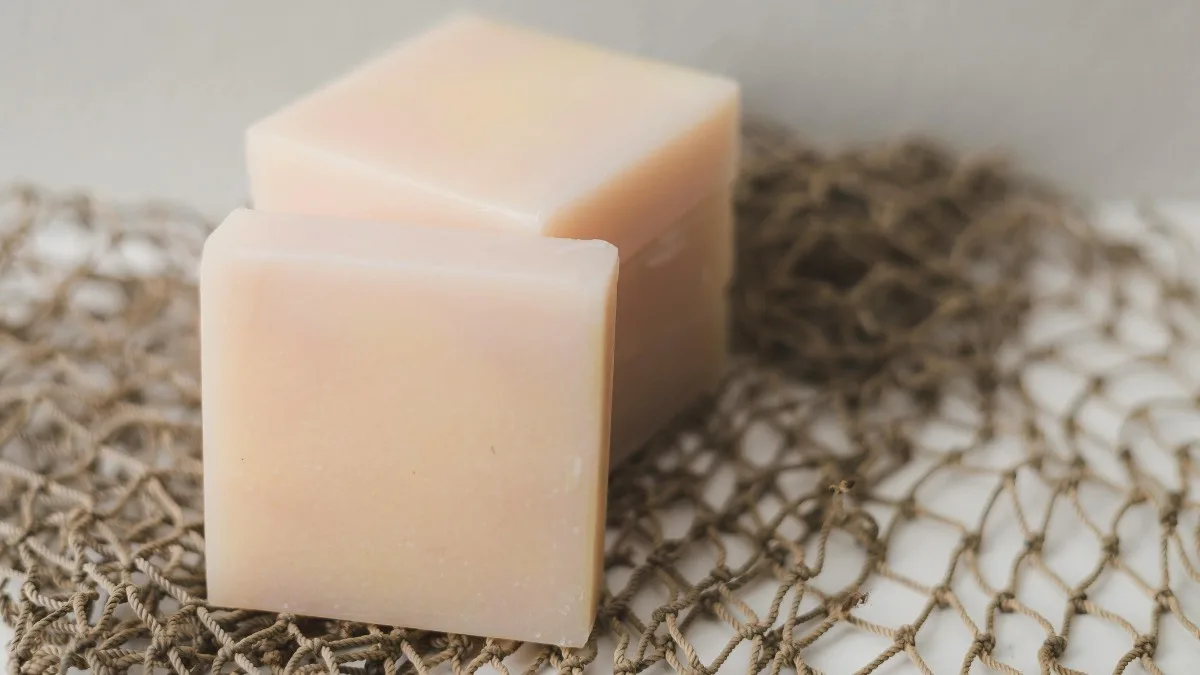
Making your soap is a rewarding and surprisingly simple experience. It allows you to customize scents, colors, and ingredients to create unique bars that are gentle on your skin and the environment. This guide will walk you through the basic steps of cold-process soap making, a popular method for beginners.
1. Gather Your Supplies
Make sure you have the following essentials before getting started:
- Lye: A strong alkaline substance crucial for soap making. Handle with extreme caution and always wear protective gear.
- Oils and Fats:
- Olive oil
- Coconut oil
- Palm oil (sustainable sources recommended)
- Shea butter
- Cocoa butter
- Distilled Water
- Essential Oils: For fragrance (optional)
- Soap Mold
- Large Stainless-Steel Pot
- Heat-resistant Bowl
- Thermometer
- Safety Gear: Gloves, goggles, and long sleeves
2. Calculate Your Recipe
- Choose a Recipe: Start with a simple recipe online or in a soap-making book. Many online calculators can help you determine the correct amounts of lye and oils for your desired soap.
- Measure Accurately: Accurate measurements are essential for successful soap making. For the best results, use a digital scale.
3. Prepare Your Lye Solution
- Safety First: Always add lye to water, never the other way around. This helps prevent dangerous splashing.
- Measure and Mix: Carefully measure distilled water into a heat-resistant bowl. Slowly add the measured lye to the water while stirring constantly. The mixture will heat up significantly.
4. Prepare Your Oils
- Melt: Gently melt solid oils and fats (like shea butter and cocoa butter) in a double boiler or over low heat.
- Combine: Combine all liquid and melted oils in the large stainless-steel pot.
5. Combine Lye Solution and Oils
- Temperature Check: Both the lye solution and oil mixture should be around 100-110°F (38-43°C).
- Slowly Pour: Gradually pour the lye solution into the oils, stirring constantly with an immersion blender.
- Trace: Continue blending until the mixture thickens to the consistency of pudding. This is called “trace.”
6. Add Additives (Optional)
- Essential Oils: Add a few drops of your favorite essential oils for fragrance.
- Colorants: Use natural colorants like clays, spices, or micas.
- Add-ins: Incorporate dried flowers, herbs, or exfoliants like oatmeal or coffee grounds.
7. Pour into Mold
- Line Mold: Line your soap mold with parchment paper for easy removal.
- Pour Gently: Pour the soap batter into the mold.
- Insulate: Wrap the mold in towels to help it retain heat during the saponification process.
8. Curing
- Initial Cure: Leave the soap in the mold for 24-48 hours.
- Unmold: Carefully unmold the soap and cut it into bars.
- Cure: Place the soap bars on a wire rack in a cool, dry, and well-ventilated area for 4-6 weeks. This allows the soap to harden and any remaining lye to evaporate.
9. Enjoy Your Homemade Soap!
Once the curing period is complete, your soap is ready to use. For the best accuracy, use a digital scale. Enjoy the luxurious lather and the satisfaction of creating something with your own hands.
Tips for Beginners:
- Start with a simple recipe.
- Wear appropriate safety gear.
- Measure accurately.
- Maintain proper temperatures.
- Be patient during the curing process.
You can create various beautiful and functional homemade soaps by following these steps and experimenting with different ingredients.
Disclaimer: Soap making involves working with lye, a caustic substance. Always prioritize safety and refer to reputable sources for detailed instructions and guidelines.
I hope this comprehensive guide helps you embark on your DIY soap-making journey!